
The 2011-2016 LML Duramax shipped from the factory with a single calibration engineered to cover 80,000 miles of bumper-to-bumper warranty, a 3.73 rear end, and an owner who buys fuel at whatever station is closest. Delete the emissions hardware, add a lift pump, pour in a hot tune, and that one-size-fits-all calibration is now a one-size-fits-nothing compromise. Tow a 16,000-pound fifth-wheel through the Eisenhower Tunnel at 11,000 feet on the same fueling curve you use to merge onto an empty freeway at sea level, and the CP4.2 injection pump is being asked to do two jobs it was never designed to do simultaneously.
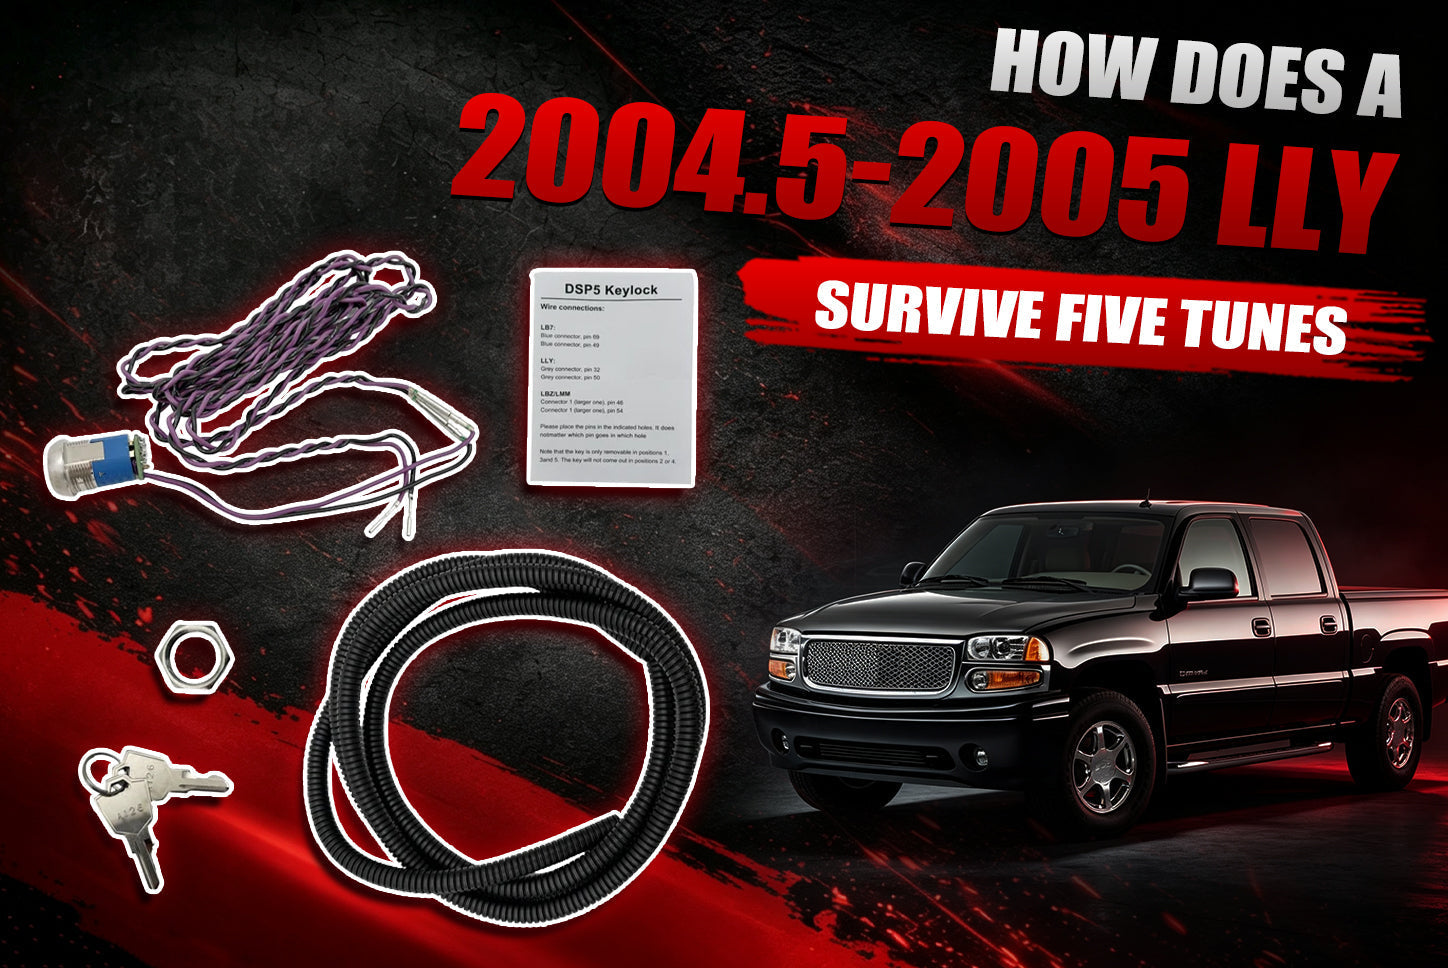
The solution is not a single tune that tries to be everything. The solution is five tunes and the hardware to switch between them without pulling over. The 2011-2016 LML 5-Position SOTF Switch at $45.49 is a two-wire, ECM-direct rotary selector that turns a single-tune truck into a multi-map platform at the twist of a dial. It does not tune the truck — it tells the ECM which pre-loaded tune table to run.

What You’re Actually Buying: DSP5 Switch Comparison
Not all five-position switches are built to the same specification, and the price differences between them are not noise — they reflect real differences in knob material, wire protection, and terminal quality.
Consider what $45.49 buys against the cheapest eBay alternatives:
| Feature | DieselTok DSP5 Switch | Generic eBay/TEMBOR SOTF Switch |
|---|---|---|
| Price | $45.49 | $37.99 |
| Knob material | Knurled aluminum, machined finish | Plastic (molded), no knurling |
| Wire protection | Plastic split loom conduit included | Often bare wire or no conduit provided |
| Terminal type | Pre-crimped, fully seated, labeled yellow/black | Unspecified, often bare pin terminals |
| Test button | Built-in white LED test button on switch back | Not included on most sub-$40 listings |
| Adhesive label | Included, positions 1-5 | Often absent or generic sticker |
| Mounting hardware | Included (nut, lock washer) | Varies; some ship switch-only |
| ECM connector instructions | Pin #11/#35 diagrams provided | Generic “EFI harness” description, no pin map |
The gap is not just seven dollars — it is the difference between a switch that comes with a test circuit to verify pin seating before you button up the ECM, and one where you find out about a loose terminal three days later when the truck throws a circuit-fault code.
A missing test button means the only way to confirm correct pin insertion is to start the engine and cycle through positions — by which point the ECM connector is reinstalled, the battery tray is bolted back, and a loose terminal means undoing half the install.
A plastic knob under a windshield that sees 140°F dashboard temperatures in summer will fade, feel cheap, and eventually crack at the set screw. An aluminum knob does not.
Unshielded wire routed past the LML exhaust downpipe — where under-hood ambient temperatures exceed 180°F during sustained towing — is a premature failure waiting to happen. The included split loom conduit, basic as it is, keeps the signal wires from chafing against brackets and sharp edges through the hottest section of the engine bay. A switch that ships with no conduit at all leaves bare 22-gauge wire running inches from a turbocharger heat shield.

How DSP5 Works: ECM-Direct Architecture
DSP5 stands for Diesel Switchable Program, 5-position. The switch is a resistor-ladder voltage divider — five resistor values produce five distinct voltage levels on the ECM signal pin. The ECM reads the voltage and selects the corresponding tune table from memory.
DSP5 vs Sensor-Circuit SOTF: Architecture Comparison
This is where the LML Duramax differs from every other diesel platform:
| Platform | SOTF Architecture | Signal Path | ECM Action |
|---|---|---|---|
| LML Duramax (DSP5) | ECM-direct resistor divider | Yellow wire → X2 pin #11, Black → X2 pin #35 | ECM reads voltage, switches tune table internally |
| Ram Cummins (CCV SOTF) | Sensor-circuit intercept | Taps CCV sensor 5V reference → tuner hardware | External tuner reads voltage, selects map; ECM runs base cal |
| Ford Powerstroke (FRP/IAT SOTF) | Sensor-circuit intercept | Taps FRP or IAT sensor → tuner hardware | External tuner reads voltage, adjusts fueling offset |
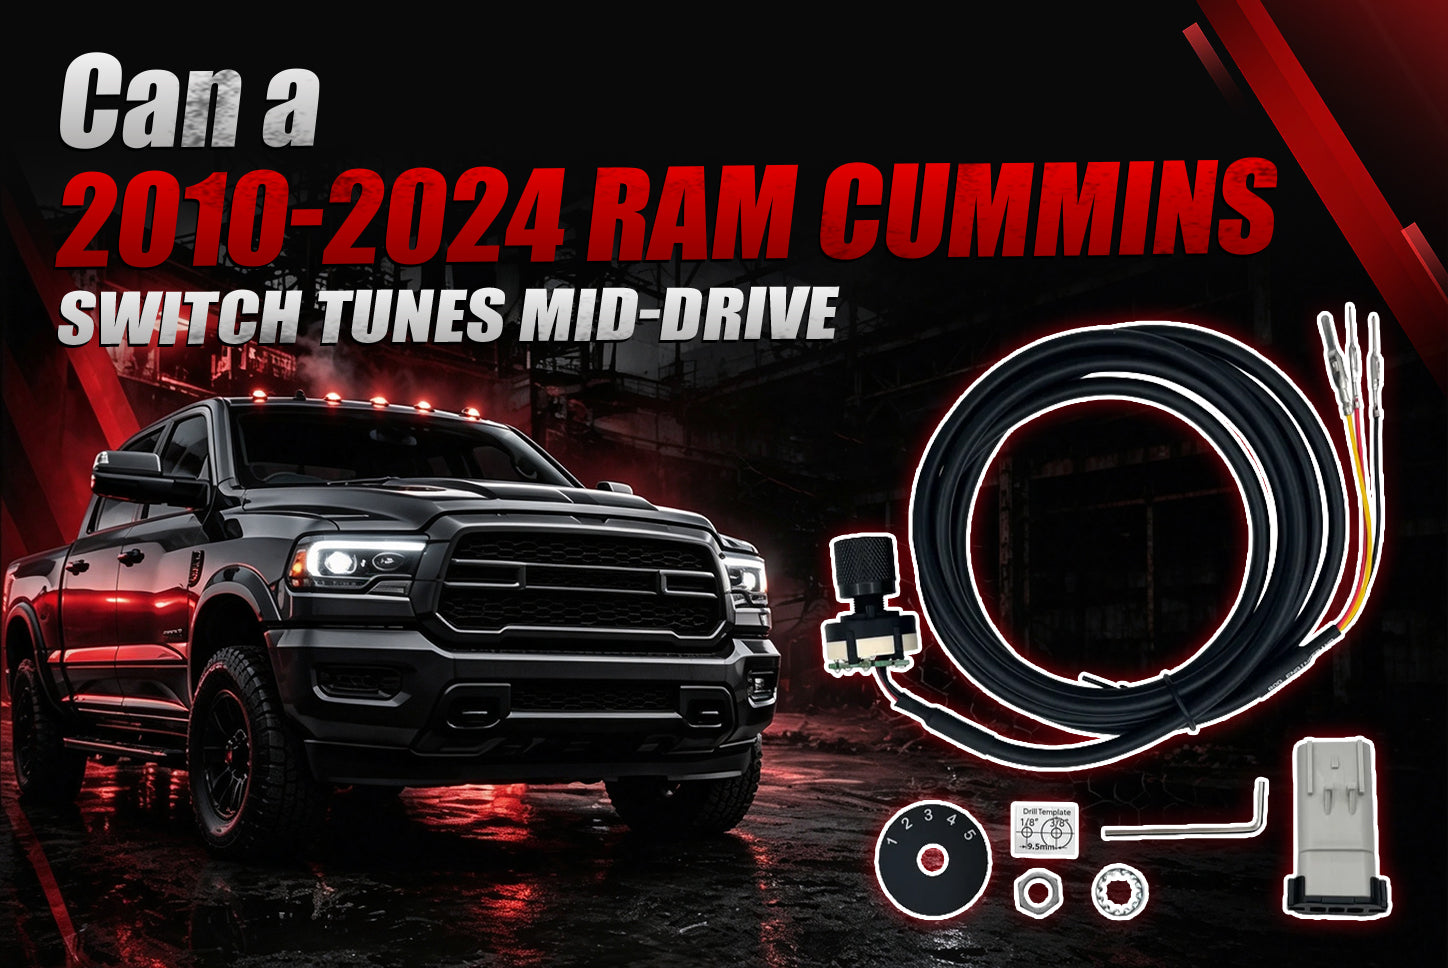
On a Ram Cummins with an EZ-Lynk SOTF switch, the switch voltage is read by the tuning device, which interprets the signal and applies the corresponding map — the ECM never sees the switch. The ECM continues to run the base calibration while the external tuner overlays adjustments.
On an LML with a DSP5 switch, the ECM itself is reading the voltage on pin #11 and switching its own internal tune table. No external hardware makes the decision. No sensor is intercepted. The switch talks directly to the ECM processor.
This architecture has one non-negotiable prerequisite: the ECM must be flashed with a DSP5-compatible calibration file before the switch does anything. The switch is a selector. The tune file is what it selects. Without a DSP5 tune file from a tuner that supports the five-slot format, the switch is a knob connected to an ECM that does not know it is there.
The connection point is the X2 connector on the ECM — the medium-sized connector that carries CAN bus communication, power, and DSP5 signal. Two wires: yellow to pin #11 (signal input), black to pin #35 (ground reference).
ECM Location: Why It Matters
The LML ECM is not where it was on older Duramax trucks. This is the single most common installation mistake — an installer follows a YouTube video shot on an LBZ and spends 20 minutes looking at an empty passenger-side fender well.
| Generation | Model Years | ECM Location | Access Method |
|---|---|---|---|
| LB7 | 2001-2004 | Passenger fender well | Remove inner fender liner |
| LLY | 2004.5-2005 | Passenger fender well | Remove inner fender liner |
| LBZ | 2006-2007 | Passenger fender well | Remove inner fender liner |
| LMM | 2007.5-2010 | Passenger fender well | Remove inner fender liner |
| LML | 2011-2016 | Driver side engine bay, near battery | Remove ECM from bracket; access from above |
| L5P | 2017-2025 | Passenger side engine bay, rearward | Remove intake plumbing for access |
On the LML, the ECM sits vertically in a plastic bracket on the driver side of the engine compartment, near the primary battery. The bracket is secured with two or three bolts. Once the bracket is unbolted, the ECM can be pulled forward enough to access the three connectors: X1 (largest, grey, injector and sensor circuits), X2 (medium, black/grey, CAN bus, power, DSP5 pins), and X3 (smallest, throttle and pedal circuits).
Dual-Battery Disconnect
The LML has two batteries — driver side and passenger side. The ECM draws keep-alive power from both. Disconnect both negative terminals before touching any ECM connector.
When reconnecting: positive terminals first (both sides), then negative terminals (both sides). The ECM performs a power-up self-check after battery reconnection. If a terminal in the X2 connector is not fully seated, the resulting intermittent connection can trigger a circuit-fault DTC once the engine is started — requiring a code clear to resolve.
Five Tunes: What Each Position Means

A typical DSP5 calibration package includes five tune slots. These are not standardized — every tuner builds their own maps — but the following breakdown reflects what most LML tuners deliver:
| Position | Typical Tune | Example Power (RWHP) | Best Used For | What Changes |
|---|---|---|---|---|
| 1 | Stock / Economy | 350-380 hp | Daily driving, fuel mileage, winter warm-up | Factory or near-factory fueling; minimal rail pressure |
| 2 | Light Tow | 400-430 hp | Sub-10,000 lb trailers, moderate grades | Moderate fuel, conservative timing, EGT-limited |
| 3 | Heavy Tow | 430-470 hp | Fifth-wheel, gooseneck, 10,000-20,000 lb | Advanced timing for torque, rail pressure capped, turbo vane profile shifted |
| 4 | Street / Sport | 500-550 hp | Empty highway, daily performance | Aggressive timing, elevated rail pressure, quick spool strategy |
| 5 | Max Effort / Race | 550-600+ hp | Dyno pulls, drag strip, competition only | Maximum fueling, peak rail pressure, timing at knock threshold |
The jump between Heavy Tow and Street/Sport is the most dangerous one. Position 3 is designed for sustained load at 2,200 RPM with a trailer behind it. Position 5 is designed for a 12-second dyno pull followed by a cooldown. Switching from Heavy Tow to Street/Sport while towing can push EGT past 1,500°F within seconds — exhaust valves are not designed to survive that thermal load for more than a few seconds.
The switch executes the change in under one second. It does not warn the driver that the selected tune is wrong for the current conditions. The driver is the operator. The switch is a tool.
Why Five Tunes Beat One: The CP4.2 Problem
The Bosch CP4.2 injection pump on the LML uses a pair of cam-driven pistons to pressurize fuel to 30,000 psi. The cam-to-piston contact surfaces rely on the fuel itself for lubrication. Low-lubricity fuel — which is most pump diesel sold in North America today — accelerates wear at the cam follower, eventually producing metal debris that circulates through all eight injectors, the rails, and the high-pressure lines. A CP4.2 failure repair bill often exceeds $8,000 because every component downstream of the pump is contaminated.
A tune that commands aggressive rail pressure ramp rates and rapid injection-timing transitions increases the mechanical load on the pump at exactly the moment lubrication is at its worst. A dedicated tow tune with conservative rail pressure targets is designed to keep the CP4.2 alive under sustained load. A max-effort tune with aggressive timing — the same tune that feels responsive on an empty highway — is not.
Altitude compounds the problem. The following data illustrates why a single tune calibrated at 1,000 feet of elevation does not work at 10,000 feet towing a trailer:
| Driving Condition | Atmospheric Pressure (psi) | Turbo Workload | Effective Tune Grade |
|---|---|---|---|
| Sea level, empty | 14.7 | Baseline | Position 4 — no issue |
| 5,000 ft, towing 8,000 lb | 12.2 | ~20% harder to hit boost target | Position 4 becomes borderline |
| 10,000 ft, towing 16,000 lb | 10.1 | ~30% harder; compressor outlet temp spikes | Position 4 is unsafe; needs Position 2 or 3 |
At 10,000 feet of elevation, the turbo must spin faster and work harder to make the same boost target. Available oxygen is approximately 70% of sea level. The fueling curve that produces safe EGT at 1,000 feet may push past 1,400°F at elevation because the engine has less oxygen to complete the burn. DSP5 allows switching from Position 4 to Position 2 without pulling over. A single-tune truck stays in Position 4 and hopes.
Installation
The DSP5 switch install is a two-part job: connecting two wires to the ECM on the engine side of the firewall, and routing the switch cable into the cab.
Part 1: Firewall Pass-Through
The firewall routing point on the LML is the hood release cable grommet on the driver-side firewall. This is a rubber seal where the hood latch cable passes through the sheet metal. Pull the grommet out of the firewall opening.
The wire routes from the cab to the engine bay — feed the switch wires from inside the cab through the grommet hole. Leave approximately 12 to 14 inches of slack on the engine bay side to reach the ECM.
Firewall Routing Methods Compared
| Routing Method | Difficulty | Tools Needed | Risk Level | Works For LML? |
|---|---|---|---|---|
| Hood release cable grommet (driver side) | Low | None — pull grommet by hand | Minimal; grommet seals around thin wires | Yes (recommended) |
| Main harness grommet (passenger side) | Medium | Trim tool, silicone lubricant | Low but wire must cross engine bay | Yes but longer wire run |
| Drill new hole | High | Drill, step bit, grommet kit | High — unpainted metal rusts; must deburr | Overkill for two thin wires |
| Through door jamb | Low (physically) | None | High — pinched wire = short to ground | Never recommended |
Slide the included plastic split loom conduit over the switch wires on the engine bay side. The driver side of the LML engine bay has the exhaust downpipe and turbocharger in close proximity, and ambient temperatures near the ECM bracket exceed 180°F during sustained towing. Route the protected wire along the factory harness path toward the ECM, securing with zip ties at three points minimum. Keep the wire clear of the turbocharger heat shield and exhaust manifold.
Reinstall the hood release grommet around the switch wire — the rubber stretches around the thin wire leads without modification.
Part 2: ECM Connector Disassembly and Pin Insertion
The X2 connector has a two-layer housing that must be disassembled in order:
- Remove ECM from bracket — unbolt the plastic bracket, free the ECM
- Disconnect X2 connector — release locking tab, pull straight back
- Remove outer cover — the grey/black plastic shell snaps over the connector
- Remove pin-retention panel — the flat plate with rows of small holes; a flathead screwdriver releases it
- Insert wires — yellow to cavity #11, black to cavity #35; push straight in until the terminal clicks at the bottom
On 2011 model year LML trucks, pin #11 may already contain a factory yellow wire. Use a terminal removal tool or straightened paperclip to release the locking tab and pull the existing terminal out. On 2012-2016 models, pin #11 is typically vacant.
| Installation Step | Common Mistake | Consequence |
|---|---|---|
| Battery disconnect | Only disconnecting one negative terminal, not both | ECM keep-alive power stays live; short risk |
| X2 connector removal | Rocking or twisting connector during pull | Bent pins, cracked housing |
| Outer cover removal | Forcing cover without releasing all snaps | Broken retaining tabs; cover won’t stay seated |
| Pin insertion | Terminal pushed only to latch depth, not bottom of cavity | Intermittent open circuit on DSP5 signal pin |
| Center bolt (T20/T25 Torx) | Over-torquing | Stripped aluminum threads in connector body |
Part 3: Testing

Before reinstalling the ECM fully, turn the ignition to ON without starting the engine. Press the white test button on the back of the switch body. If one of the position LEDs illuminates, the switch is receiving power and both pins are correctly seated. If no LED lights, pull the X2 connector and verify terminal insertion depth.
This is where the test button matters — and why switches without one cost less. Without a test circuit, the only confirmation method is to fully reassemble the ECM, reconnect both batteries, start the engine, and cycle through positions. If a terminal is loose, the job starts over.
Part 4: Cab Mounting

Select a mounting location for the switch knob. Common positions:
| Mount Location | Pros | Cons |
|---|---|---|
| Lower dash panel, left of steering column | Near headlight switch; clean factory look | Requires reaching below dash line |
| Center stack trim, below radio | Easy to reach; visible at a glance | More visible from outside the truck |
| A-pillar gauge pod | Professional appearance; integrates with other gauges | Pod must be purchased separately |
Drill a hole sized to the switch body, position the adhesive position label, and mount from behind the panel. Secure the switch wire to the factory harness under the dash using zip ties, keeping it clear of the pedal linkage and steering column.
What a DSP5 Switch Does Not Do
It does not make a race tune tow-safe. Selecting Position 5 does not change the fact that a max-effort fueling curve is designed for a dyno pull, not a sustained grade at 2,200 RPM. EGT will climb if the tune is wrong for the load.
It does not replace gauges. The switch tells the ECM which tune to run. It does not tell the driver what the engine is doing. A pyrometer is the minimum. A CAN-bus monitor that displays EGT, boost, rail pressure, and transmission temperature is the practical standard.
It does not work without a DSP5 calibration. If the ECM has a single-tune file, the switch is a knob connected to a pin that the ECM ignores.
Conclusion
The 2011-2016 LML Duramax left the factory with one calibration tasked with covering everything from a -20°F cold start in North Dakota to a 115°F grade pull through Death Valley. A deleted and tuned LML running a single performance map covers an even wider range of conditions — empty freeway, city traffic, high-altitude towing, winter warm-up — with a fueling strategy calibrated for precisely none of them.
The DieselTok 2011-2016 LML 5-Position SOTF Switch at $45.49 puts the right tune one click away. It is built with the components that make a two-wire install reliable for the life of the truck: a knurled aluminum knob that will not fade or crack, an included split loom conduit that keeps the signal wires protected, and a built-in test button that confirms correct pin seating before reassembly. Available at www.dieseltok.com.
Disclaimer: DSP5 tuning components are intended strictly for off-road, race, or competition use only. Users are responsible for complying with all applicable federal, state, and local laws regarding vehicle emissions and modifications.
FAQ
Do I need a DSP5 tune before installing the switch?
Yes, without exception. The switch is a hardware selector. It does not tune the ECM. A DSP5-compatible calibration with all five tune slots must be loaded onto the ECM by a tuner who supports the five-slot format. If the ECM contains a single-tune file, turning the knob produces no change.
What if my 2011 LML has a wire in pin #11?
The 2011 model year LML occasionally shipped with a factory wire occupying pin #11 on the X2 connector. This wire must be removed before the DSP5 switch yellow wire can be inserted. Use a terminal removal tool or a straightened paperclip to release the locking tab inside the connector cavity and pull the existing terminal out. Do not cut the factory wire.
Can I switch tunes while driving under load?
Yes. The ECM switches between pre-loaded tune tables in under a second. The transition is a calibration table swap. The driver should be aware that switching into a more aggressive tune under heavy load will change fueling immediately — the engine will respond to the new table without delay.
Will installing the switch cause a check engine light?
When correctly installed with a proper DSP5 calibration loaded, the switch does not trigger a check engine light. If the CEL illuminates after installation, the most likely cause is a terminal not fully seated in the X2 connector cavity. The ECM sees an open circuit on pin #11 and sets a circuit-fault code.
Does the switch work with any tuner?
The DSP5 switch requires a tuner that supports the DSP5 five-slot calibration format on the LML ECM. This includes EFILive and tuning platforms that offer DSP5-compatible tune files. It is not compatible with tuners that use alternative multi-map methods, such as CSP5 on the Cummins platform. Confirm with the tuner before purchase.